cold weather Archives - Amazing Journeys
Wanderlust Blog

Posts Tagged ‘cold weather’

Border

Winter Travel Tips

Monday, November 12th, 2018

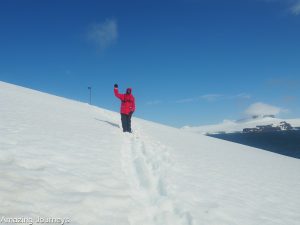
With the weather turning colder and winter right around the corner, some of us have to get into a different mindset when it comes to making travel plans. While the winter weather makes it the perfect time to escape to warmer climates, it can also mean snags in your travel arrangements. So while you can’t do anything to change the weather heading your way, here are some suggestions on how to best be prepared for your travels during winter months:

Leave Early
Allow extra time to get to the airport during the winter. That extra cushion of time can mean the difference between arriving on time or getting there late (or not arriving at all if you miss your flight).

Connect in the South
If you need to have a connecting flight, try to choose a southern city to make your connection. Weather will be less likely to be an issue during the winter months.

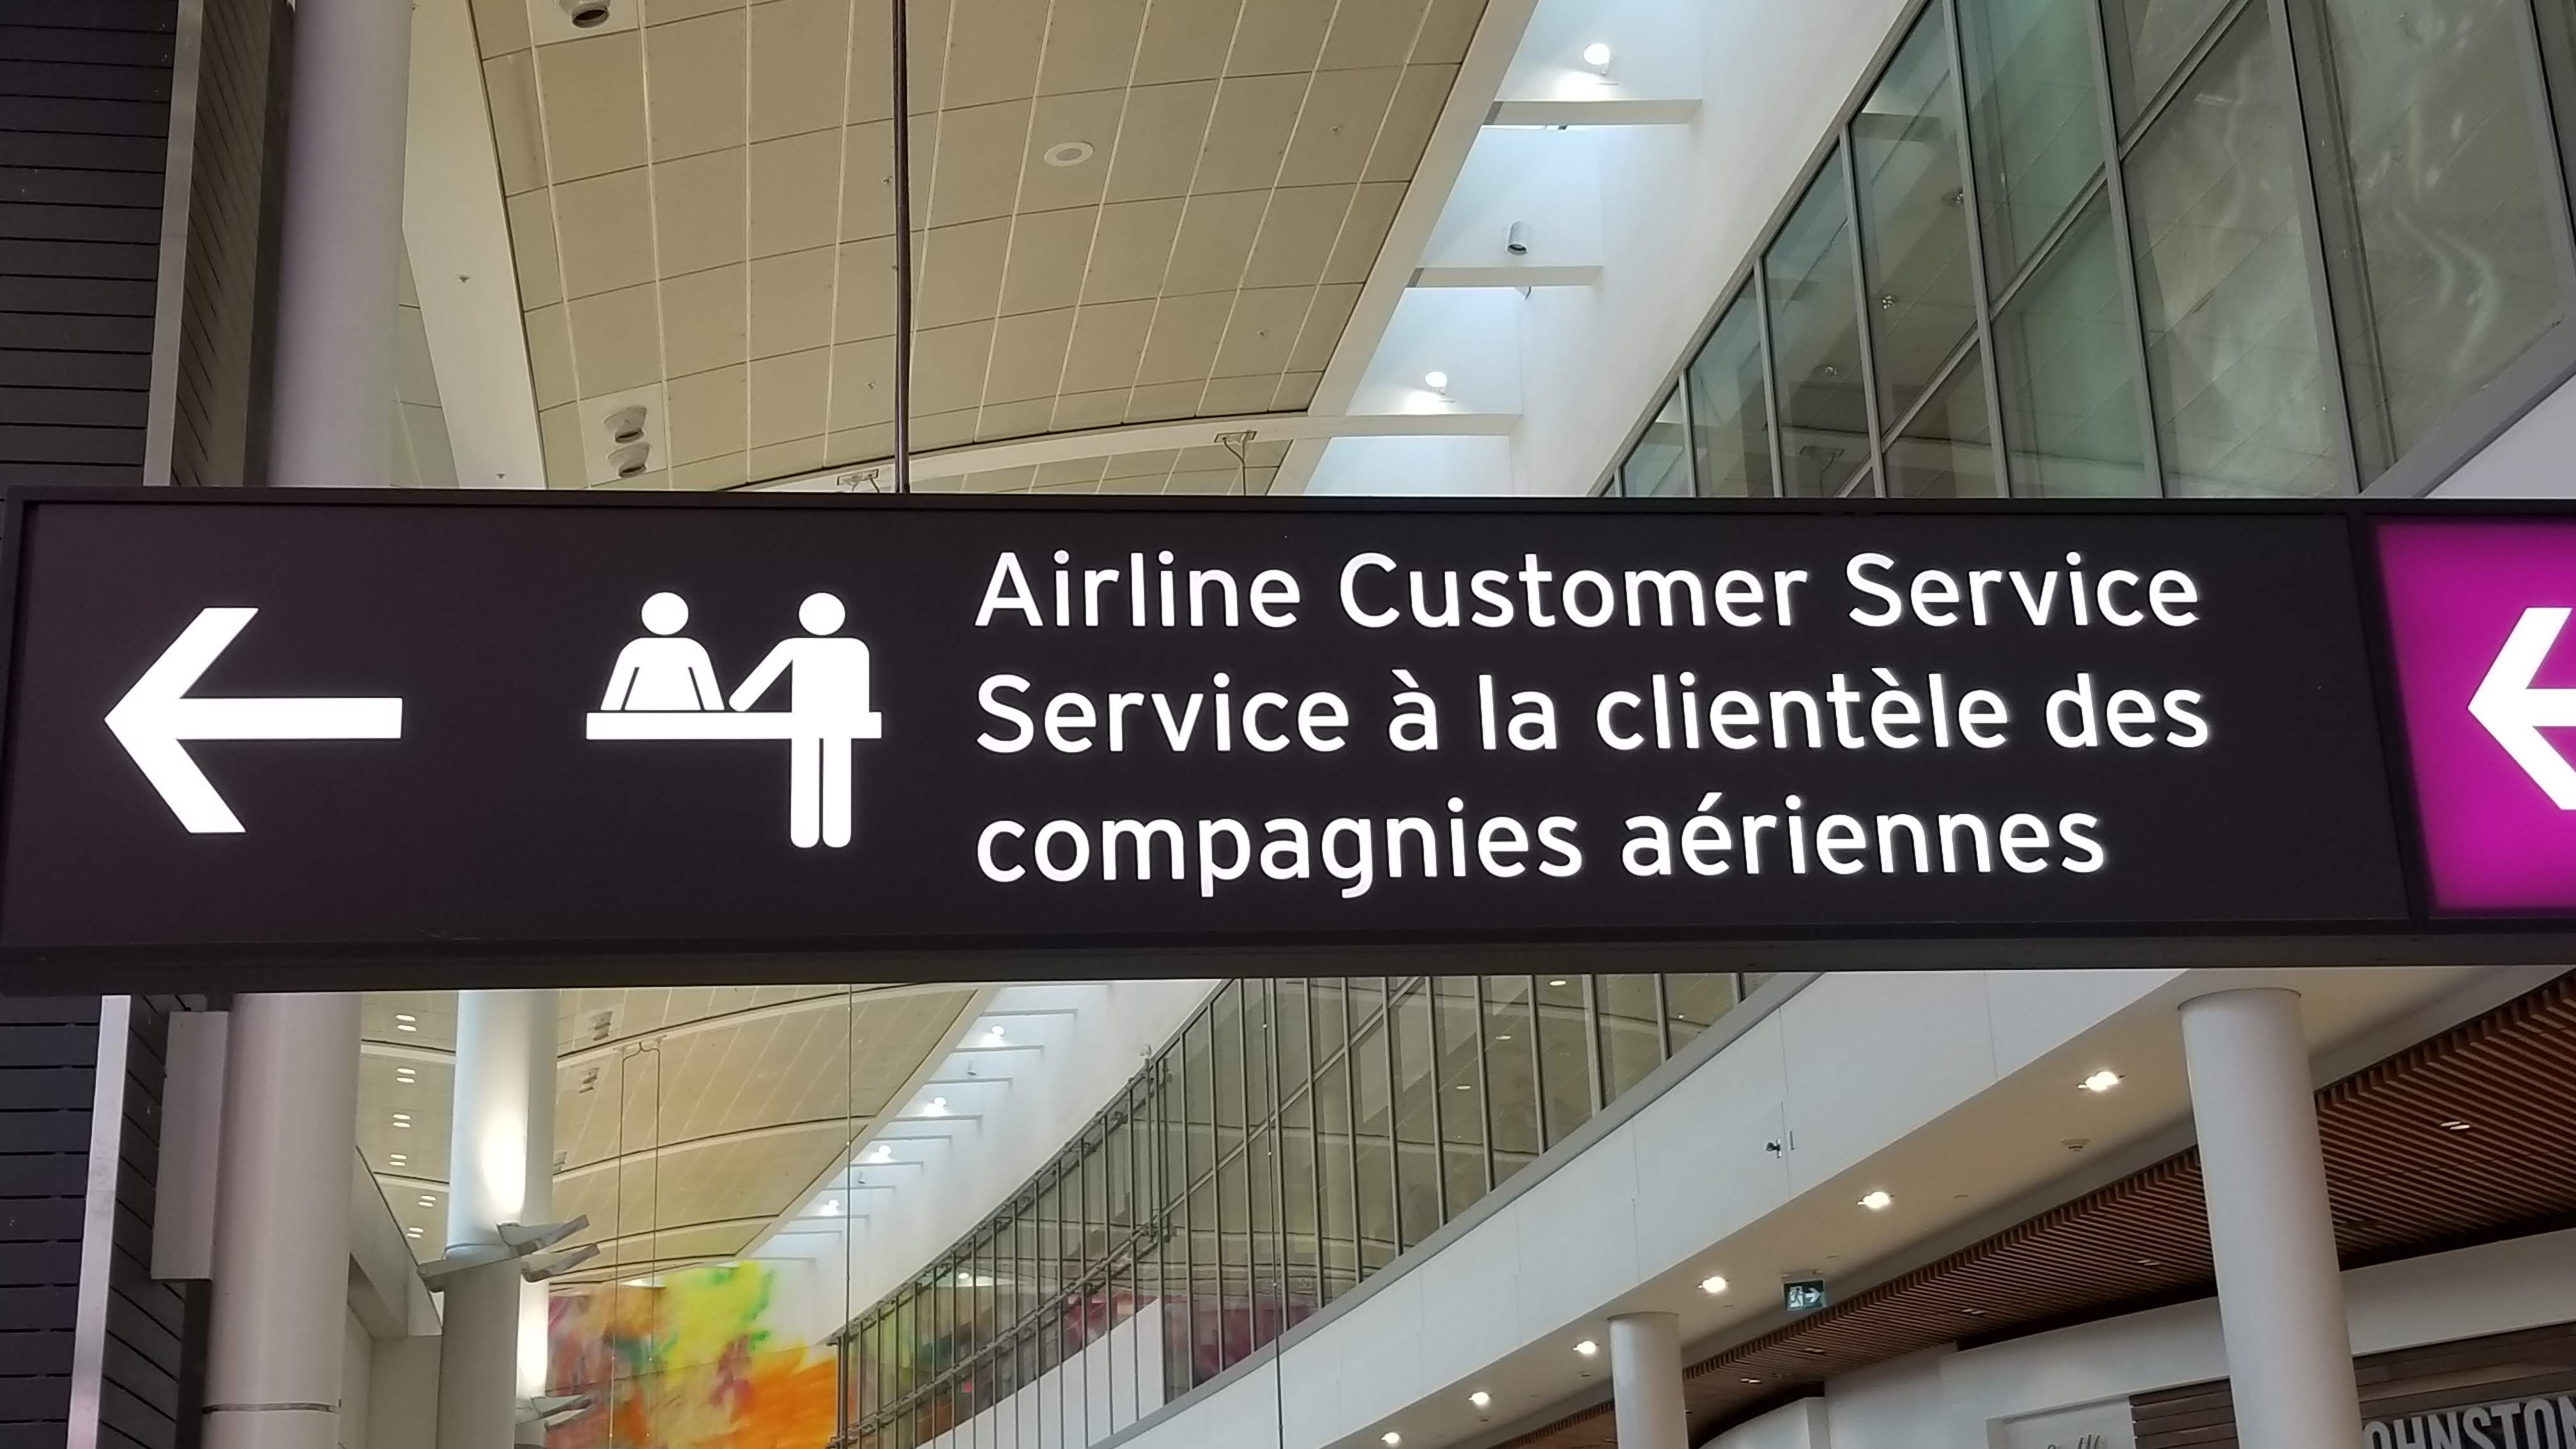
Check Out the Airport Lounge
Severe weather events can be the best times to purchase a one-day airline lounge pass. It’ll be more comfortable to wait out the weather in the lounge and often rebooking lines are shorter than in the terminals.

Follow on Social Media
Often the easiest way for airlines and airports to get the word out about major travel delays and important information is via social media.

Check the Weather Early and Often
Don’t wait until a winter storm hits to make other travel plans. Keep your eye on the weather to stay ahead of Mother Nature and prevent your trip from being derailed. Watch the weather in all cities where your travel plans could be affected – your departure city, any connections and your destination. To check for inclement weather before you depart, visit the National Weather Service for up-to-date weather information and alerts.

Invest in Travel Protection
On all trips, we highly recommend purchasing a travel protection plan.  A travel protection policy can help when rebooking cancelled flights, making hotel arrangements and other emergency travel assistance. It can also provide coverage for medical expenses and emergency medical evacuations, as well as reimbursement for your pre-paid, non-refundable trip costs in the event that inclement weather causes the cancellation or interruption of your travel.

Wherever you decide to travel in the winter months, we wish you easy flights, cooperative weather, safe travels and amazing journeys!

Edited from AIG

Cold Weather Photography

Monday, September 24th, 2018

by Barry

I know that many of you, just like me, love to take pictures.  What better way to remember your travels than coming home with amazing pictures to show off and hang up?

Photography in cold weather destinations like Iceland or Antarctica could present some “interesting” challenges.  These revolve mainly around the weather and climate you will be enjoying.  What comes to mind initially is the temperature that you will be experiencing.

Preparing for taking pictures in cold weather destinations can be divided into two categories:
1. Taking care of your camera and
2. Taking care of yourself.

First, most important, and most basic, is to take care of yourself.  This means staying warm.  I’m not going to talk a lot about this topic in general.  I’ll leave this to your research.  The one thing that I do want to mention is keeping your hands warm.  As you are anticipating, the key here are gloves.  What I do is bring a pair of regular warm gloves that I use here in Pittsburgh to stay warm and a special pair of “fingerless” gloves so that I have dexterity to operate my camera in the cold.  There are several types of these “fingerless” gloves to use.  My suggestion is to go to a sporting goods store (or online) and head to the hunting section.  Hunters use these gloves all the time.  Here is an example.  Now, let’s talk photography!  There are two issues that make photography in the cold “interesting”; power and water.

First let’s talk about power (batteries).  The thing to remember is that, in cold temperatures, battery power goes down quickly.  There is an easy solution to this; carry extra batteries.  If you camera uses regular batteries, just pop a couple of extra sets in your coat close to your body (to keep them warm).  When the set in your camera gets cold and stops working, just change them out for a “body warmed” set.  (The cold set will come alive when warmed up again.)  If your camera takes only proprietary rechargeable batteries, go to the camera store (or order) a second battery.  Keep one warm while you shoot with the other; then just swap them out.  Easy enough!

Now, let’s talk about water, two kinds:  Ocean Spray and Condensation.

The easy one first:  Ocean Spray.  In places like Antarctica, you will be getting to shore by Zodiac rubber boats.  There is the chance that you, and therefore your camera, may get wet.  The solution is to transport it to shore in a waterproof bag.  While a sealable baggy may be adequate, I prefer a “Dry Bag” to really protect my camera – here is the kind I have.  The size you get depends on your camera size.

I’ve saved the “Best” for last:  Condensation.  If you’ve been outside for a while in the cold air, then go inside the warm house; what’s the first thing that happens?  Your glasses fog up.  This occurs when your cold glasses hit the warm air.  The same thing will happen to your camera.  If you take your cold camera in to a warm room, the camera will instantly form condensation (water droplets) not only on the camera, but also inside the camera.  Remember, water and electronics are not happy together, i.e. your camera’s guts will “fry”.

Preventing condensation on your camera is very important and not too difficult.  Here’s the solution:  While your camera is still cold, put it in a sealable plastic bag, and seal it tightly.  Leave it in the sealed bag until, once back inside the ship, the camera slowly warms back up to room temperature.  Problem solved!  (Going from warm to cold should not be a problem, only cold to warm.)  I’m actually throw a couple of those Silica Gel desiccant packs (the kind that comes with your new shoes to keep them dry) in my camera bag and the plastic bag for added protection.

Now, some of the above advice may be overkill, but you can never be too prepared.

My final words of wisdom:
1. Take plenty of Memory Cards
2. Take plenty of Batteries and appropriately sized sealable baggies (see above)
3. If you’re going to get a new camera for the trip, get it now and learn how to use it now (don’t wait to open the box on the plane on the way to your destination!)
4. Practice using your camera and all of its settings.  Being familiar with your camera will pay off in improved pictures.

Now you have one less thing to worry about as you prepare for your next cold weather amazing journey.  Happy shooting!

Brrr..Don’t let cold snap the bite out of your scenic winter photos

Tuesday, January 18th, 2011
-a guideline to taking pictures in an outdoor cold setting…compliments of Barry Asman: AJ’s resident paraprofessional photographer-at-large:
Whether you’re joining us on our Winter trip to Alaska or just taking pictures in your neighborhood this winter, cold weather photography can be some of the most exhilirating shots you ever take, but these shots present some challenges.  These revolve mainly around the weather and climate we will be enjoying.  What comes to mind initially is the temperature that we will be experiencing.  Our winter temperatures will be COLD, sometimes well below ZERO!  This extreme cold will produce some interesting camera problems.  Preparing to take pictures in Alaska can be divided into two categories:  1) taking care of your camera and 2) taking care of yourself.
First, most important and most basic, is to take care of yourself.  This means staying warm, especially keeping your hands warm.  As you are anticipating, the key here are gloves.  What we recommend is to bring a pair of regular warm gloves, and also a special pair of “fingerless” gloves so that you have the dexterity to operate a camera in the cold.  There are several types of these “fingerless” gloves to use.  Our best suggestion is to go to a sporting goods store (or on line) and head to the hunting section.  Hunters use these gloves all the time.  Here is an example of some gloves: http://www.rei.com/product/305045
Now, let’s talk photography!  There are two issues that make photography in the cold interesting; power and water.
First there is the issue of power (batteries).  The thing to remember is that in cold temperatures, battery power goes down quickly.  There is an easy solution to this; carry extra batteries.  If your camera uses regular batteries, just pop a couple of extra sets in your coat, close to your body (to keep them warm).  When the set in your camera gets cold and stops working, just change them out for a “body warmed” set (the cold set will come alive when warmed up again.)  If your camera takes only proprietary rechargeable batteries, go to the camera store (or order) a second battery.  Keep one warm while you shoot with the other; then just swap them out.  Easy enough!
Now, let’s talk about water…condensation.  Here’s the problem…  If you’ve been outside for a while in the cold air, then go inside the warm house; what’s the first thing that happens?  Your glasses fog up.  This occurs when your cold glasses hit the warm air.  The same thing will happen to your camera.  If you take your cold camera onto the warm hotel, the camera will instantly form condensation (water droplets) not only on the camera, but also inside the camera.  Remember, water and electronics are not happy together, i.e. your camera’s guts will “fry”.  Believe us, we’ve seen very expensive cameras with puddles of water sloshing around INSIDE the camera from condensation.
Preventing condensation on your camera is very important and not too difficult.  Here’s the solution:  While your camera is still Alaska cold, put it in a sealable plastic bag, and seal it tightly.  Leave it in the sealed bag until, once back inside the hotel, the camera slowly warms back up to room temperature.  Problem solved!  (Going from warm to cold should not be a problem, only cold to warm.)  You can actually throw a couple of those Silica Gel desiccant packs (the kind that comes with your new shoes to keep them dry) in your camera bag and the plastic bag for added protection.  While some of the above advice may be overkill, its going to be cold and you can never be too prepared.
Some people have asked about bringing a tripod.  Granted, to get good pictures of the Aurora Borealis you should use a tripod.  But, that means you have to carry the tripod.  If you want to get a good travel tripod, you can pick one up that folds small and weighs three pounds (and some may cost up to $600).  The typical non-travel tripod from Best Buy weighs 5-7 pounds and is two feet long (folded)…trust me; you will NOT want to be carrying that thing around.  Another option is to get a small, light flexible mount (http://joby.com/gorillapod) and hope there is something convenient to clamp it to.  There are even Bean Bag camera mounts that are fairly light and easy to use; assuming there is some place to rest it.  The decision is yours to make.  Take a look at what is out there and go with it.
My final words of wisdom:
*Take plenty of Memory Cards
*Take plenty of Batteries and appropriately sized sealable baggies (see above)
*If you’re going to get a new camera for the trip, get it now and learn how to use it now (don’t wait to open the box on the plane on the way to Alaska!)  Practice using your camera and all of its settings.  Being familiar with your camera will pay off in improved pictures.
1…2…3…EXCELLENT!
Happy Shooting!